User Guide
The Contact Card List content block displays a list of contact cards. Users need to create the contact on content tree before adding this Contact Card List block.
Contact
To add a contact, please see the following steps:
- On CMS content tree, locate the Contacts
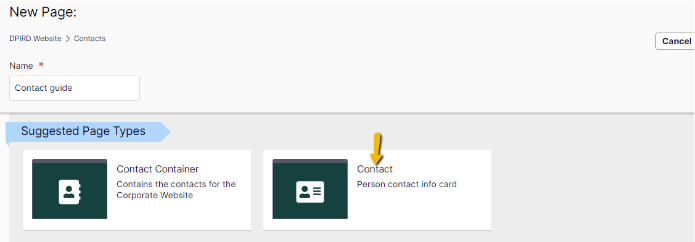
- Click on the menu (...), then select New Page

- Give a proper name and select Contact
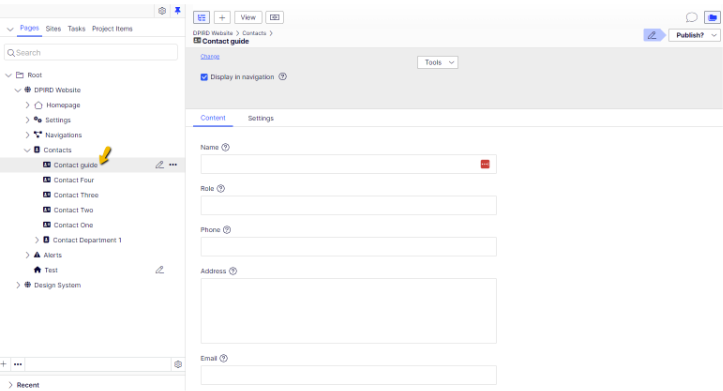
- A new contact will be added into the Contacts
- Enter the correct content into each field (Name, Role, Phone, Address, Email)
- Publish it.
Contact will be ready to be used by the Contact Card List block.
Note: Users can group the contact by adding Contact Container first and then add or move the current contact into the intended Contact Container.
Contact Card List block
To add a Contact Card List content block, on Page > Content tab, select Create a new Block from Select Content dropdown.
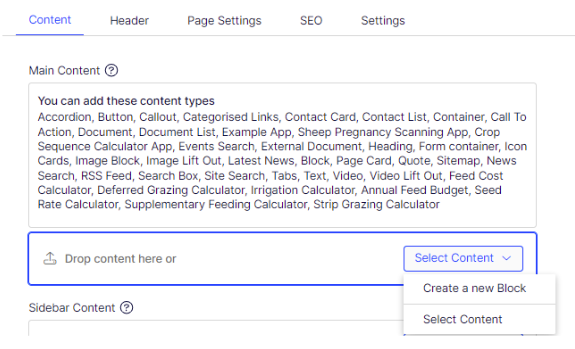
Give a proper name and select Contact List from the list.
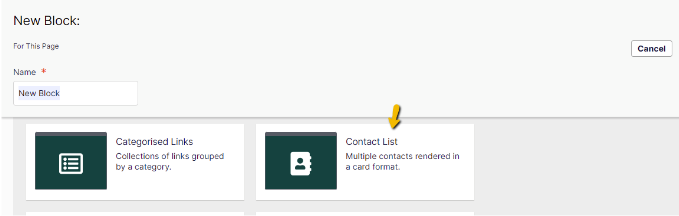
On the New Block: Contact List screen, then:
- Select the Select Content button,
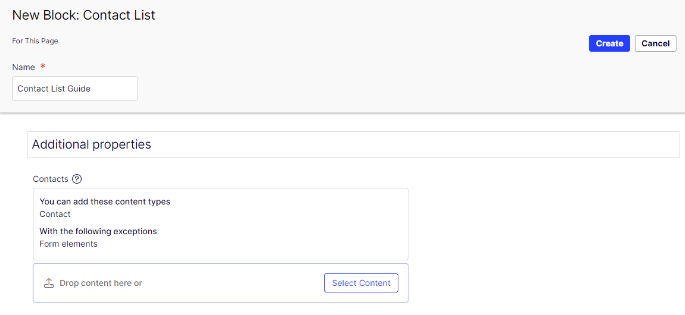
- Select Page pop up will be displayed, then locate the Contacts and select the intended contact,
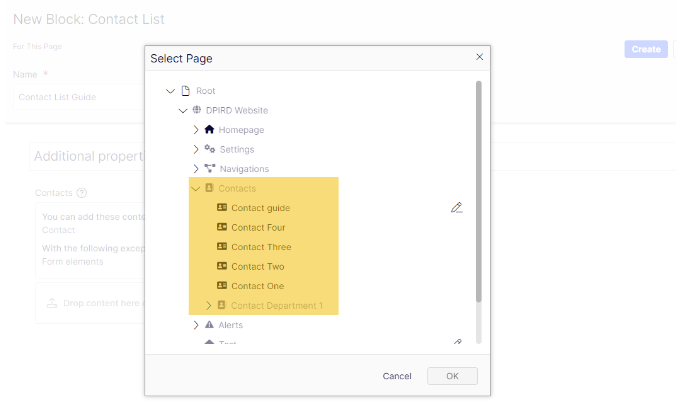
- Repeat the selecting process until all contacts has been added
- Select Create button.
The Contact List will be added to the page.
Note: Please remember to publish the page after add, edit, or delete a content block